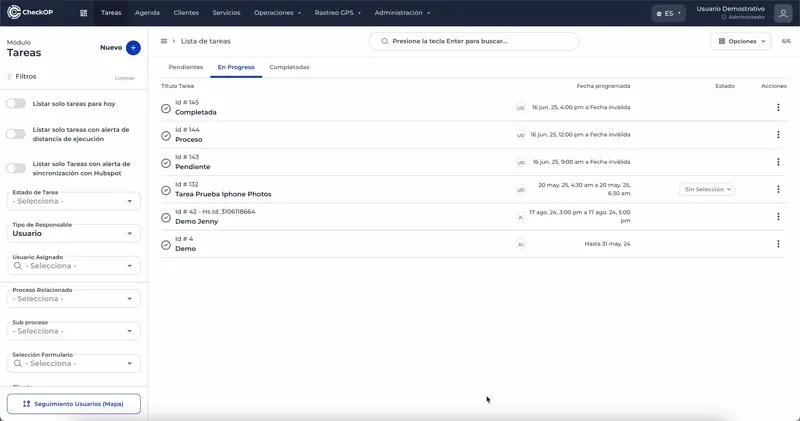
Tasks | Modification and Management of Tasks
Introduction
The Tasks module in CheckOp allows not only the creation and visualization, but also a flexible and dynamic management of operational activities. This includes the ability to edit, delete, reassign, and organize tasks through subtasks and customized statuses, adapting to changes that may arise during the lifecycle of an operation.
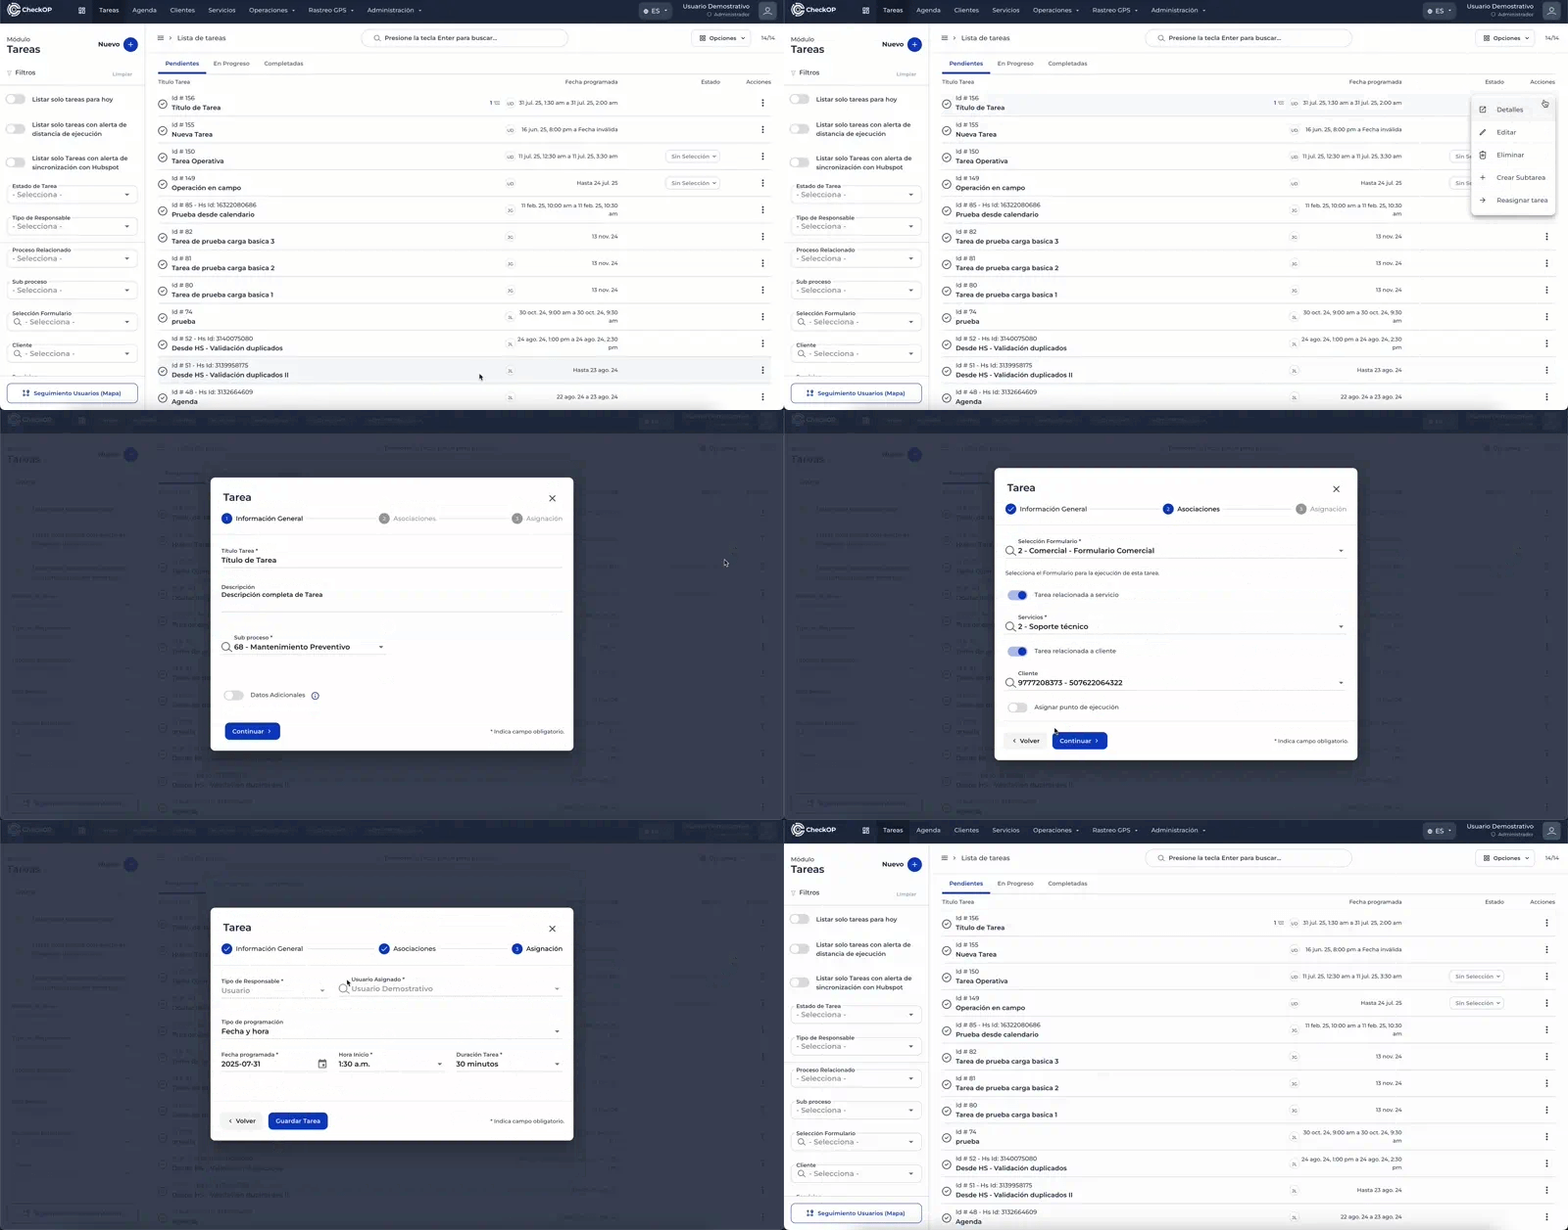
Edit task
This feature allows you to modify the information of an existing task.
Allowed Modifications: You can change all the parameters when creating a Task:
- Title
- Description
- Additional data.
- Associations(form, service/product, customer, location).
Key Restriction: Editing is only enabled while the task is in "Pending" status. Once the task changes to "In Progress" or "Completed", this option is disabled to preserve the integrity of the ongoing process.
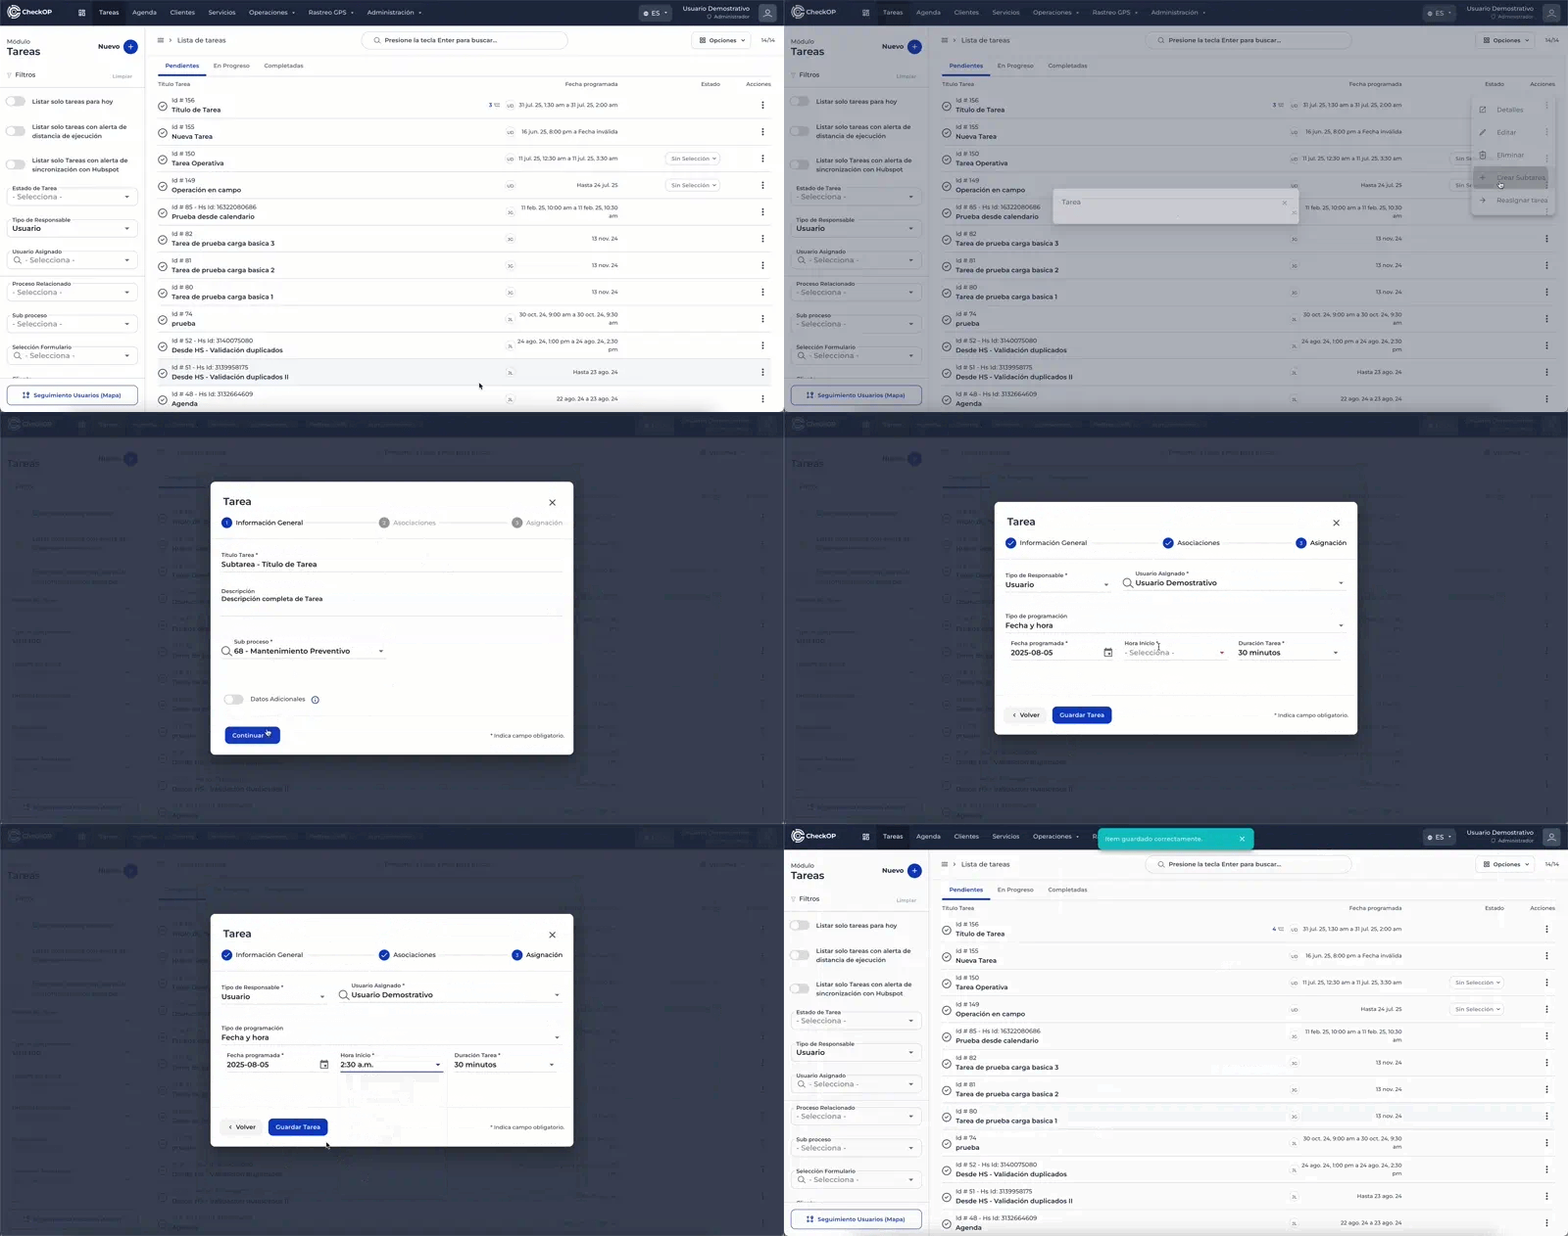
Create subtask
-
Direct Association: Subtasks are automatically linked to the main task from which they were created.
-
Workflow: Each subtask is managed as an independent task, with its own life cycle (Pending, In Progress, Completed).
Reassign task
This feature allows you to change the responsible for a task to another user or work team. The reassignment can be done even if the task is already in progress ("In Progress"). This is ideal for shift changes or delegation of responsibilities.
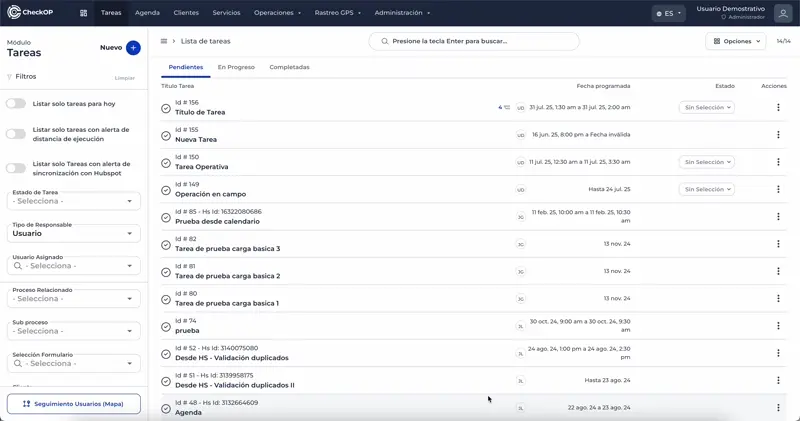
- Locate the Task: Find the task whose responsible you want to change in the task list.
- Access the Options Menu: Click on the "three dots" button (
...) next to the task. - Select the "Reassign" Option: Choose the "Reassign" option from the drop-down menu.
- Select the New Responsible: Choose the new user or team to which the task will be assigned.
- Confirm the Reassignment: Saves the changes so that the task is assigned to the new manager.
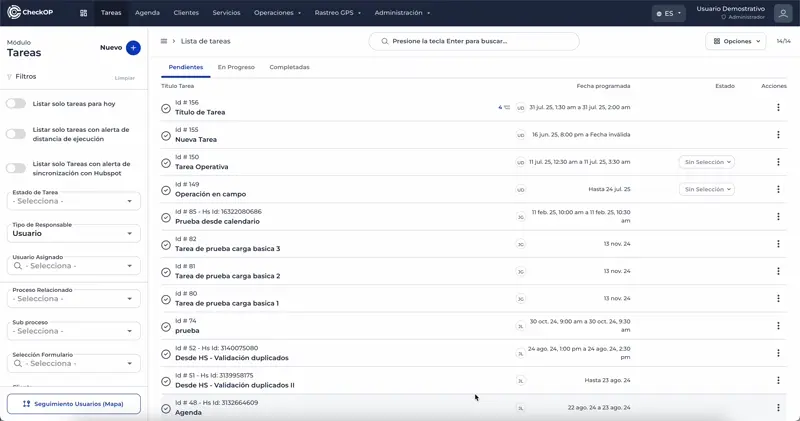
Assign status/label to task
- Customization: Uses labels or statuses previously defined in the Processes module (e.g., "Reviewed", "Pending Validation").
- Granular Tracking: Allows a more detailed control of the intermediate phases of a process, improving traceability.
- Locate the Task: Find the task to which you want to assign a custom status.
- Access the Status/Tag Option: Find the field or button for "Assign Status/Tag" (usually in the task detail or list view).
- Select the Desired Status: Choose one of the available custom statuses that the task process has inherited.
- Save Change: Confirms the assignment of the new status.
Important: Statuses/Tags are only visible if the sub-process associated to the task has specific statuses configured in the Processes module.
Reactivate executed task
- Purpose: Used to allow continuation of the task or to correct an erroneous closure.
- Status Change: The task is returned to a "Pending" or "In Progress" status for further management.
- Traceability: The system automatically records the reactivation in the task change log.
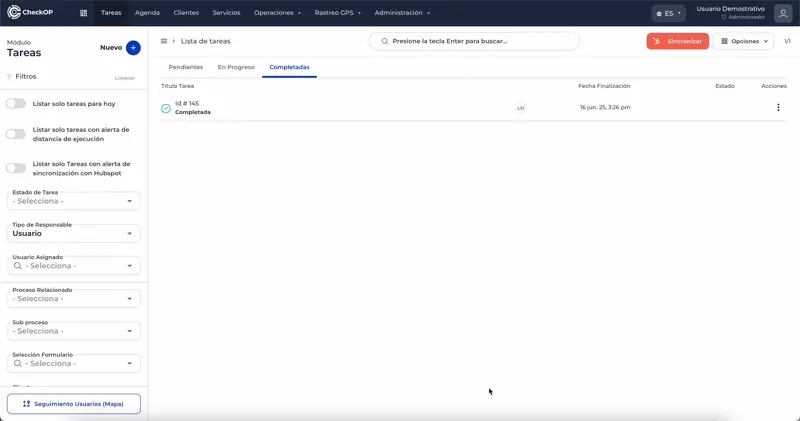
- Locate the Completed Task: Find the task that was previously marked as "Completed".
- Access the Reactivation Option: Find and click on the "Reactivate" (or similar) button.
- Confirm the Reactivation: The task will return to a "Pending" or "In Progress" status to allow for continuation or review.
Option to end Task without completing Tasks in progress
Step-by-step: Finish task without completing subtasks.
-
Locate the Main Task: Find the main task you want to finish, even if it has "In Progress" subtasks.
-
Access the Special Completion Option: Look for the specific option to "Finish Task without completing In-Process Tasks" (this option will only be visible to Team Leaders).
-
Confirm the Action: The system will ask you for a confirmation, as you are finishing the main task despite the status of its subtasks.
