Customers and Locations | Customers
Introduction
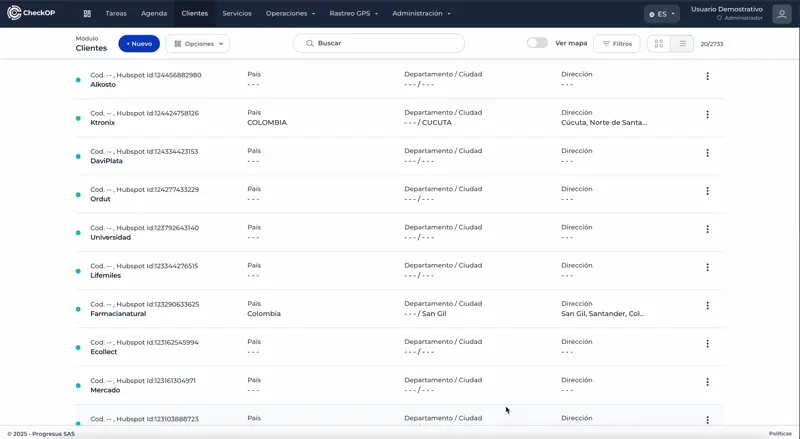
The Customers module in CheckOP allows you to create and manage detailed records of customers and their location. This module is especially useful when operational tasks need to be performed at a specific customer site, such as a facility or office.
How does it work?
Customers: Each customer registered in CheckOP can have a location associated with it, allowing precise identification of where operational tasks should be performed.
Linking to Operational Tasks: Although not all tasks need to be associated with a specific customer, in many cases it is critical. For example, when a technician must perform a repair or maintenance at a customer's facility, the module allows the task to be linked to that particular location, providing geo-referencing and other relevant details for execution.
Flexibility:
- The module is optional on tasks, as not all operations need to be associated with a customer
- Some tasks can be internal or general and do not require this relationship.
Customer Management
Objective
Configure and manage customer information and geographic locations.
Create Customer
Process:
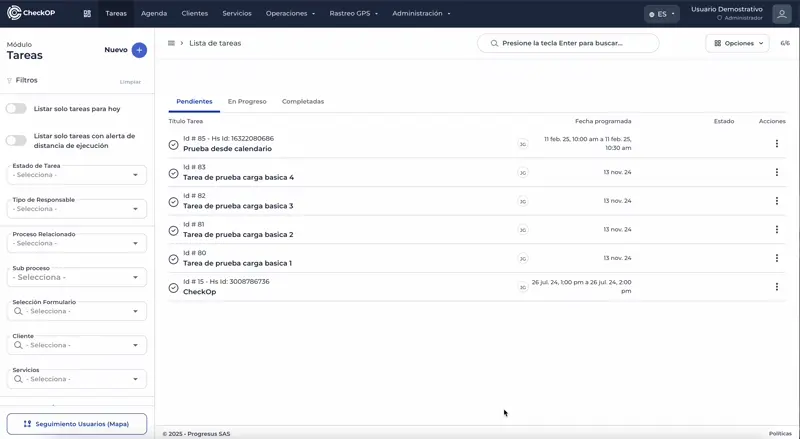
- Access the Clients module
- Select the New Client option
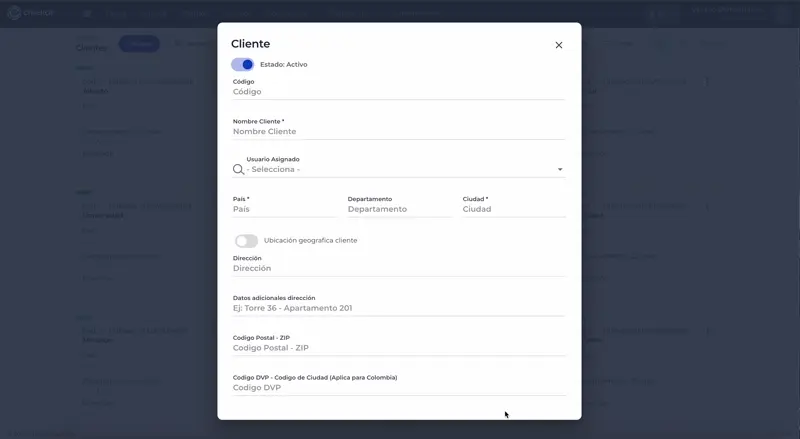
- Complete the following fields:
- Unique code: Tax ID number or custom nomenclature (e.g.: 001)
- Name: Name of the client (ex: ACMIC)
- Country: Country where the client is located (ex: Colombia)
- Department: Department or state (ex: Bogota, Capital District)
- City: Specific city (e.g. Bogota)
- Address: Customer's physical address (optional)
- Save the record
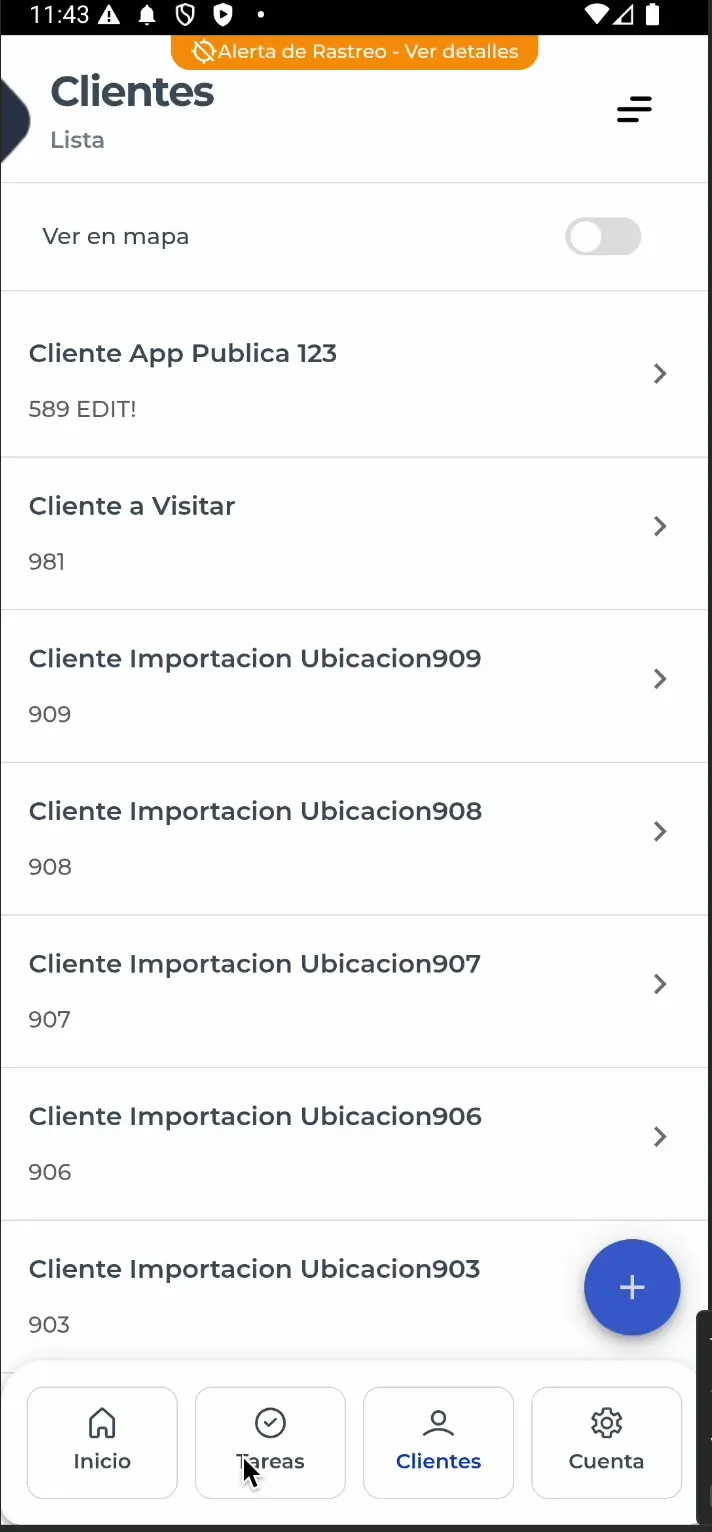
Desktop
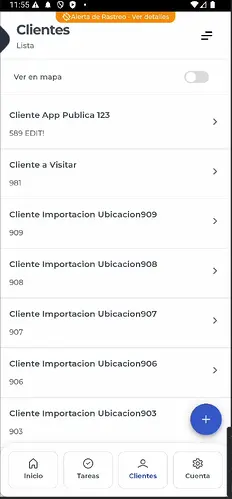
APP
Assign Geographical Location
Process:
- During client creation or editing.
- Activate the option "Geographical location of the client".
- The option to search directly for the address will be enabled
- Enter the address in the search field
- The system will automatically generate the GPS coordinates.
Functionality:
- Allows geo-referencing the exact location of the customer.
- Facilitates the assignment of location-specific tasks
- Improves route planning for field technicians
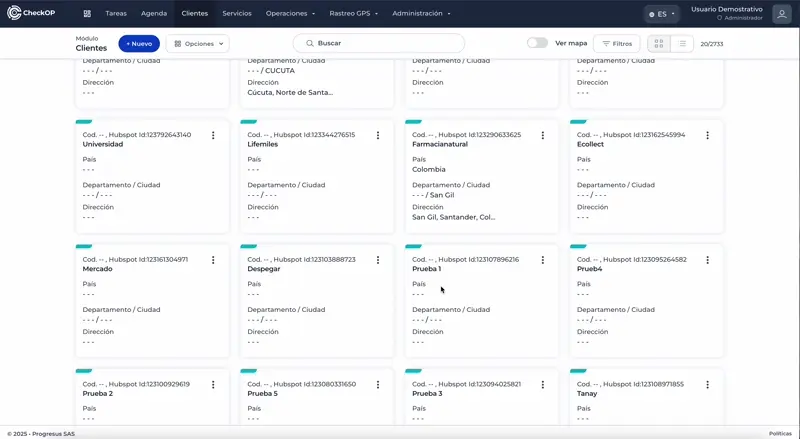
Edit Client
Process:
- Locate the customer in the list
- Select the Edit option
- Modify the required fields
- Editing includes the possibility to change the geographic location
- Save the changes
Desktop
APP
Remove Customer
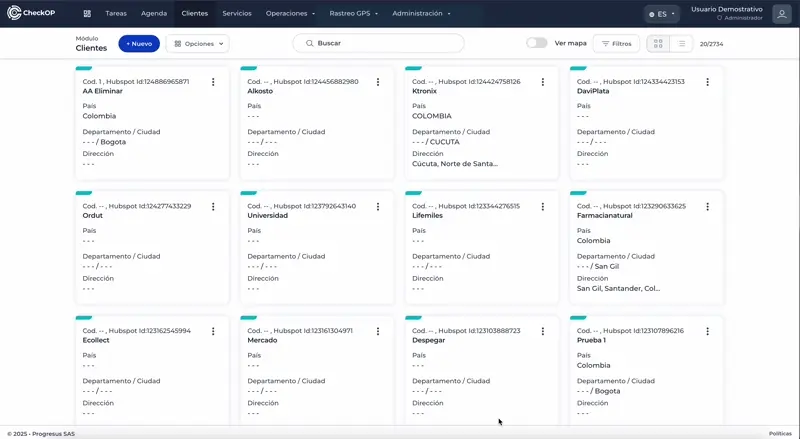
Process:
- Locate the customer in the list
- Select the 3 points
- Select the Delete option
- Confirm the deletion
Considerations:
- Deletion will affect references in associated tasks
- Consider inactivating the client instead of deleting it if it has task history.
Assign Client Owner
Process:
- During creation or editing of the client.
- In the "Assigned user" field
- Select the user who will be the owner of the contact
- Only users registered in the system will appear
Functionality:
- Allows defining responsibility for specific accounts
- Facilitates organization by territories or specialties
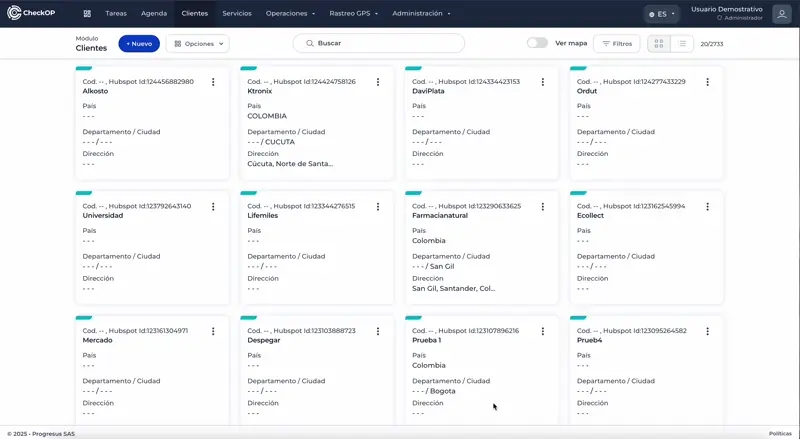
Import Customers Massively
Process:
- Access the Clients module.
- Select Options → Import records
- Download the Excel template provided
- Complete the template with the following information:
Template Fields:
- Customer Code (required): Unique identifier of the customer.
- Customer Name (required): Customer's Name
- Country (required): Customer's country
- Department (required): Department or State
- City (required): Customer's city
- Address (optional): Physical address
- Assigned user (optional): Email of the responsible user
- Latitude (optional): Latitude coordinate for geolocalization
- Longitude (optional): Longitude coordinate for geolocation
- Dynamic fields: Pre-configured custom fields
Obtaining GPS Coordinates:
- Go to Google Maps
- Locate the customer's address
- Right click on the exact location
- Select the coordinates that appear
- Copy the latitude (first number) and longitude (second number)
- Enter these values in the corresponding columns of the template
Upload the file:
- Save the completed template
- Use the "Load Data" button
- Select the Excel file
- Confirm the import
Validations:
- The system will not allow the import if there are errors in required fields.
- The assigned user emails must exist in the system.
- If there are failures, the system will show exactly which records have problems.
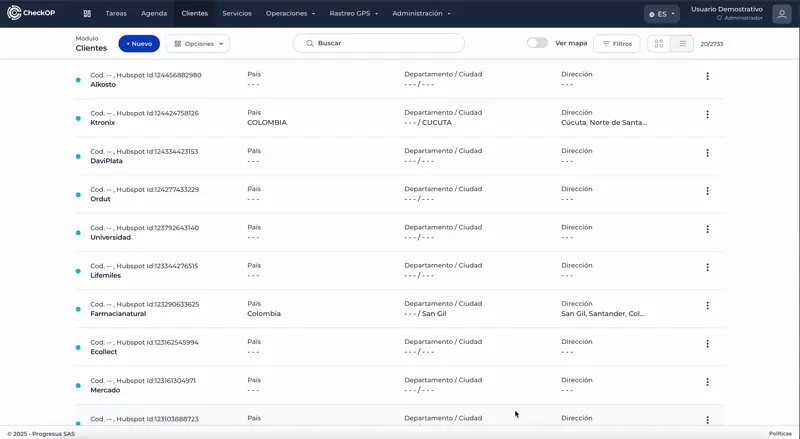
Upgrade Clients Massively
Download Customer Registration
Process:
- Log in to the Customer module.
- Select Options → Download records
- The system will export a file with all the configured fields.
- If custom fields exist, they will appear dynamically in the export
View Map and Geographic Location of Customers
Map View activation:
- In the Customer module.
- Activate the "Map View" option
- A map will be displayed with the locations of all geo-referenced customers.
Map functionalities:
- Applicable filters: customers can be filtered by country, active/inactive status.
- Information per client: Hovering the mouse over a marker displays:
- Customer title
- Identification number
- Customer details
- Status (active/inactive)
- Navigation: "How to get there" option that opens Google Maps with the location
- Controls: Zoom in, zoom out, clear map filters.
Color Codes:
- Green dots: Active customers
- Other colors: Inactive customers
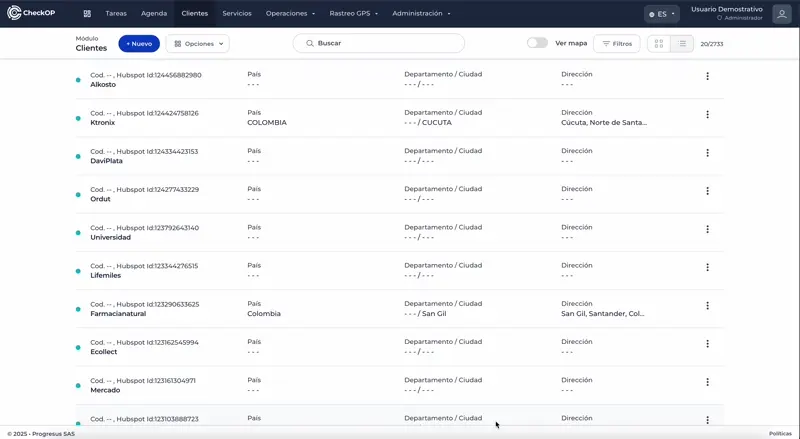
Filter Customers
Filtering options:
- By country: Show only customers from specific countries
- By status: Filter active or inactive customers
- By assigned user: Show only customers assigned to specific users
- General search: Search field to quickly locate customers
Map functionality:
- Filters applied are also reflected in the map view.
- Only customer markers that meet the selected criteria will be displayed.
